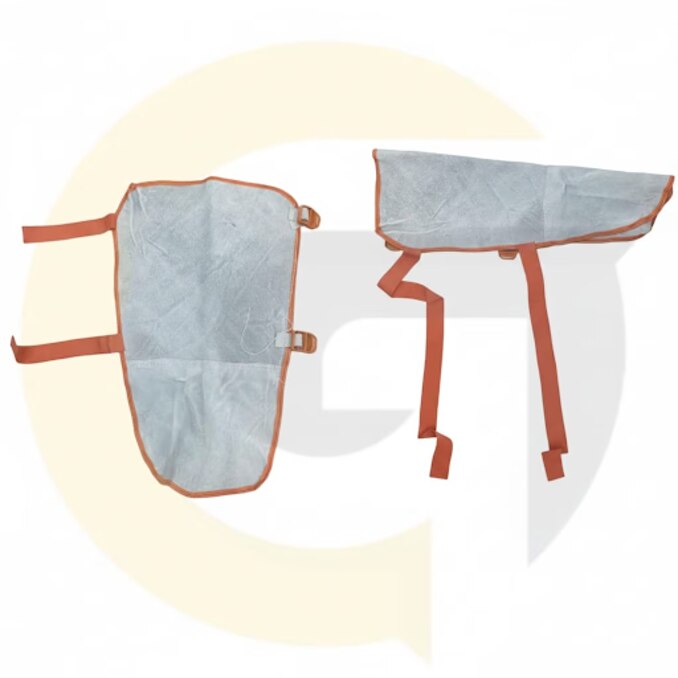
A leather leg guard is useful only when its coverage, closure and tested limitations match the welding or fabrication task. By the end, you will be able to inspect the design, check the fit, challenge vague performance claims and compare dealers using documents that identify the exact product you are buying.
Key takeaways
- Map coverage from boot top to trouser leg, knee and upper leg.
- Test closures and movement while kneeling, walking and working.
- Request leather grade, stitching, thickness and sample evidence from dealers.
- Reject guards that cannot control the specific heat, spark or slag hazard.
Define the protection area before comparing dealers
Choose a guard that closes the exposure path from your boot top to your trouser leg and apron or jacket. Leather leg guard coverage must match the work position: shin protection alone leaves the knee and upper leg exposed when kneeling, while a short guard can leave an opening above the boot.
| Design | Coverage and gap risk | Best fit |
|---|---|---|
| Split-leg guard | Covers each shin; gaps can open at the knee, sides, or boot top | Standing work with controlled spark direction |
| Gaiter-style guard | Wraps around the lower leg and overlaps the boot | Work needing ankle protection and a closed boot-top seal |
| Full leather trouser or chaps | Covers the leg from waist or thigh toward the ankle; check the knee and crotch openings | Heavy spatter, cutting, and frequent kneeling |
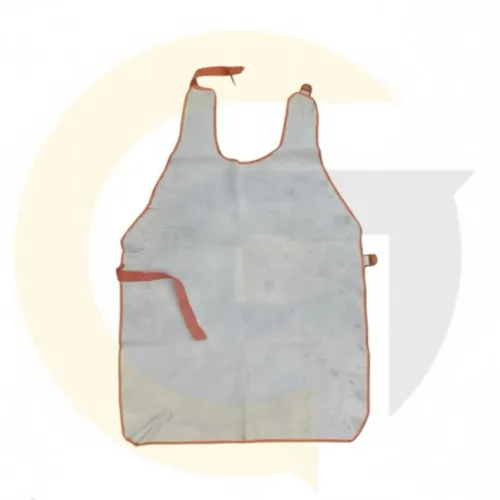
| Apron with leg protection | Adds front coverage but leaves side, rear, or lower-leg gaps | Front-facing work with limited movement |
For overhead welding or cutting, select a design that blocks entry from the top and sides. Check that its closure sits outside the spark stream and does not form a funnel for molten metal.
Confirm the guard covers the knee in your working position and overlaps both trousers and boots; otherwise, even strong shin protection leaves an exposure gap. Ankle protection matters where spatter can run down the boot.
Select a different garment or layered system when the task demands full-leg coverage, electrical arc protection, or protection beyond brief sparks and spatter.
Check fit, closures and movement in the work position
Approve a sample only after it fits over the trousers and overlaps the boot without leaving an exposed path. Measure leg circumference over the clothing you will wear, then compare it with the dealer’s size range; measure guard length from the intended upper edge to the boot top.
Mark the knee position and confirm the guard does not end across the kneecap when you bend.
- Kneel, stand and climb a ladder in the guard. Reject it if the leather pulls tight behind the knee, drops below the boot top or opens at the sides.
- Step over clamps, positioners and floor fixtures. Check that loose edges do not snag and that the guard stays aligned instead of twisting around the leg.
- Test strap placement over the actual trouser layers. Straps must hold the panel flat without cutting into your leg or loosening as your knee bends.
- Check buckle placement before welding. Keep buckles and adjustment tails outside the direct spark stream, where they cannot create an entry point for hot particles.
- Walk, turn and adopt the welding stance used on the job. Confirm the closure remains engaged and the trousers stay covered at the knee and ankle.
- Run the sample through the intended welding task, then inspect seams, straps, buckles and leather for loosening, stiffening or spatter entry.
Do not approve a fleet order from a photograph. Record the tested leg circumference, guard length, boot type and adjustment setting so replacements reproduce the secure fit.
Compare leather and construction using evidence, not labels
Do not treat “heavy-duty” as a performance rating. Split leather and top-grain leather can both be suitable, but leather thickness alone does not prove protection: heat transfer, finish, moisture, lining and intended welding process also matter. Request the manufacturer’s material and test specification.
| Evidence | What to verify | Warning sign |
|---|---|---|
| Material | Leather type, leather thickness, lining, finish and resistance intended for sparks, spatter, radiant heat and abrasion | Ounces or millimetres quoted without test or material data |
| Stitching | Stitching quality, thread specification, seam layout and reinforcement at straps, edges and overlaps | Loose stitches, skipped stitches or exposed thread at high-wear points |
| Hardware | Buckles, rivets, snaps and strap anchors that remain secure near heat and do not create exposed gaps | Plastic hardware, sharp rivets or closures that pull against the seam |
| Documents | Exact manufacturer part number, revision, size range, test report and certificate; verify EN ISO 11611 claims as Class 1 or Class 2 | A generic “welding leather” label with no traceable paperwork |
Ask which processes, amperage ranges and work positions the guard covers. Class 2 under EN ISO 11611 addresses more hazardous welding conditions than Class 1, but neither makes a guard universally heat-proof. A guard with no arc-rating label in cal/cm² is not arc-rated electrical PPE.
Reject a sample that differs from the documented model in leather grade, lining, stitching or hardware. Record the approved specification so replacement orders cannot silently substitute a cheaper construction.
Match the guard to hazards it can and cannot control
A leather leg guard controls a defined combination of sparks, molten-metal spatter, radiant heat, abrasion and brief contact. It is not universally heat-proof. Process, amperage, welding position and the amount of molten material determine whether the guard is suitable.
| Hazard or claim | What the guard can do | Additional protection or check |
|---|---|---|
| Arc flash | Protects against welding debris, not electrical energy | Use arc-rated clothing labelled with a cal/cm² rating and the electrically rated ensemble required by the arc-flash assessment |
| EN ISO 11611 claim | Limits flame spread and spatter only within the tested scope | Verify the model, certificate edition and class; Class 2 suits greater spatter and radiant heat than Class 1 |
| Heavy cutting or high-spatter work | Covers exposed leg areas within its design limits | Ask for the intended process and use a different garment, such as full leather trousers or tested chaps, when coverage is insufficient |
| Heat, chemicals or contaminated surfaces | Provides limited contact protection | Add task-specific PPE; do not treat leather as chemical-resistant or electrically insulating |
Reject a guard with hardened, cracked, burned-through or badly abraded leather, loose stitching, damaged buckles or closures that no longer hold during movement. Replace it after contamination with oil, solvent, water or metalworking residue changes its flexibility, cleanliness or ignition behaviour.
Obtain the dealer’s cleaning restrictions, prohibited contaminants, inspection points and replacement conditions in writing. A guard can lose protective performance before it looks torn.
Use a dealer checklist before approving a purchase
Do not approve a dealer on a product photograph. Require a record that lets you reorder the same guard after the original stock disappears or the manufacturer changes suppliers.
1. Ask for model identification, the manufacturer part number, size range, revision number or catalog date, country of manufacture, and current product photographs. Record leather grade, lining, stitching pattern, buckle or strap type, and guard dimensions on the purchase order.
2. Request the EU Declaration of Conformity if European PPE compliance is claimed. Check that it names the exact model, states the applicable standard and edition, and identifies the notified body or conformity-assessment route where applicable.
For EN ISO 11611, require the test scope, Class 1 or Class 2 classification, and proof that the leg guard—not only a jacket—was tested.
3. Trial the documented model on the workers who will wear it. Test kneeling, climbing, stepping over fixtures, boot overlap, strap security and closure movement, then record the approved size and adjustment setting.
4. Ask the dealer to state limitations in writing, including the absence of an arc-rating label in cal/cm² and the guard’s status as non-electrical PPE.
5. Preserve the quotation, certificates, approved sample photos, fit notes and signed specification with your supplier file. For a PPE supplier Delhi search, use these records to compare dealers; Goyals Industrial Hub can be assessed by the same evidence.
Related product
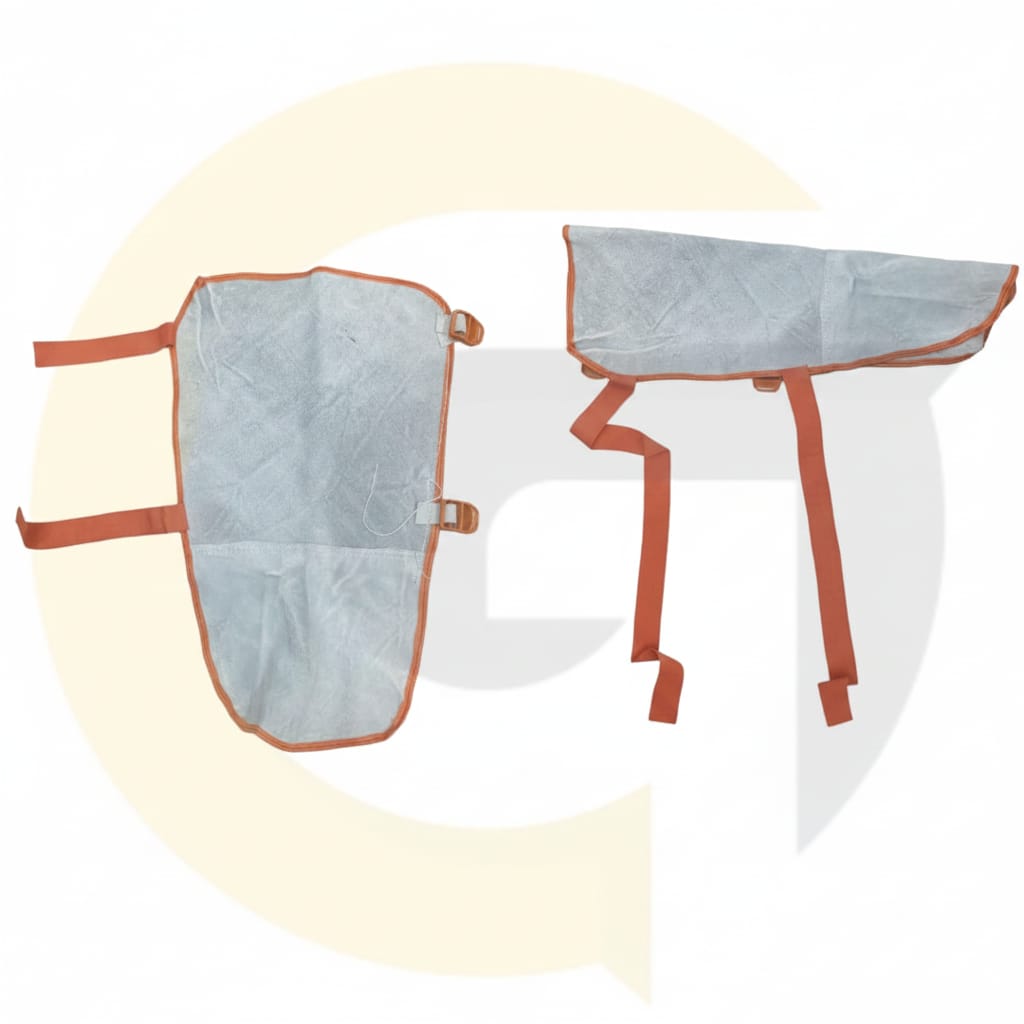 | Safety Leather Welding Leg Guards – Heat & Spark Resistant Protection Ensure maximum lower-body safety with these heavy-duty leather welding leg guards. View product → |
Frequently asked questions
How much protection area should a leather leg guard cover?
Define the exposure path from the boot top to the trouser leg, apron or jacket. Shin-only guards leave the knee and upper leg exposed when kneeling, while short guards can leave an opening above the boot.
What should you check about fit and movement?
Test the guard in the work positions you use, including standing, walking and kneeling. Check that closures stay secure without restricting movement or creating gaps.
How can you compare leather leg guard construction?
Ask dealers for evidence about leather grade, thickness, stitching, reinforcement and closure construction instead of relying on labels such as heavy-duty or premium.
What hazards can leather leg guards control?
Match the guard to the actual exposure, such as sparks, hot slag and brief radiant heat. A leather guard does not replace controls for molten-metal contact, sustained heat, electrical hazards or chemical exposure.